I am back today to share the second quilt I made during the Champagne Quilt writing process. When I made the first quilt - the test quilt - my two main goals were making sure I could provide information for a Modern Solid Quilt design and a Fat Quarter (FQ) friendly Mix + Match Star design. Well with this quilt, I wanted to try and make the entire quilt using FQs for a scrappy background instead of yardage. If I could figure it out, I could include it as an option in the pattern.
Quilt math can be simple (sometimes). Here is the basic math of a FQ: 1 FQ is roughly 18" x 21". It is a half yard of fabric - 18" x width of fabric (WOF) - cut in half again. The WOF of fabric is the only variable in the FQ that can change - some manufacturers create fabrics that are anywhere from 42" - 45" wide (quilting cottons). So the standard width I use when calculating quilt math is the 42" width. So, 42" cut in half is 21". That gets you to the 18" x 21" measurement and the reason a FQ should always be 18" is because it's exactly half of a full yard measurement - 36". So if you know that one FG is half of a yard then you know that you can get 4 FQs out of a single full yard cut. Have I lost you? You still here?
So you take that information and it is pretty easy to figure out how to change a yardage requirement into a FQ equivalent. Mind you - it can vary pattern to pattern because one pattern may have you cutting very large pieces from your yardage that you couldn't technically get from a single FQ. But for this pattern, it was easy enough to convert yardage to FQs. So for the Square Throw Size Quilt - the yardage backyard amount needed is 2 1/4 yards. So you start with needing 2 full yards and you know that means you need 8 FQs and then I still have a 1/4 yard cut to figure out. For me, 1/4 yard and FQ are pretty interchangable with Champagne so it was easy to note I needed 1 FQ to replace the single 1/4 yard cut. So 2 1/4 yards = 9 FQs. Now if you do this on your own, I always say its safe to assume you may need (1) more FQ that you think you could.
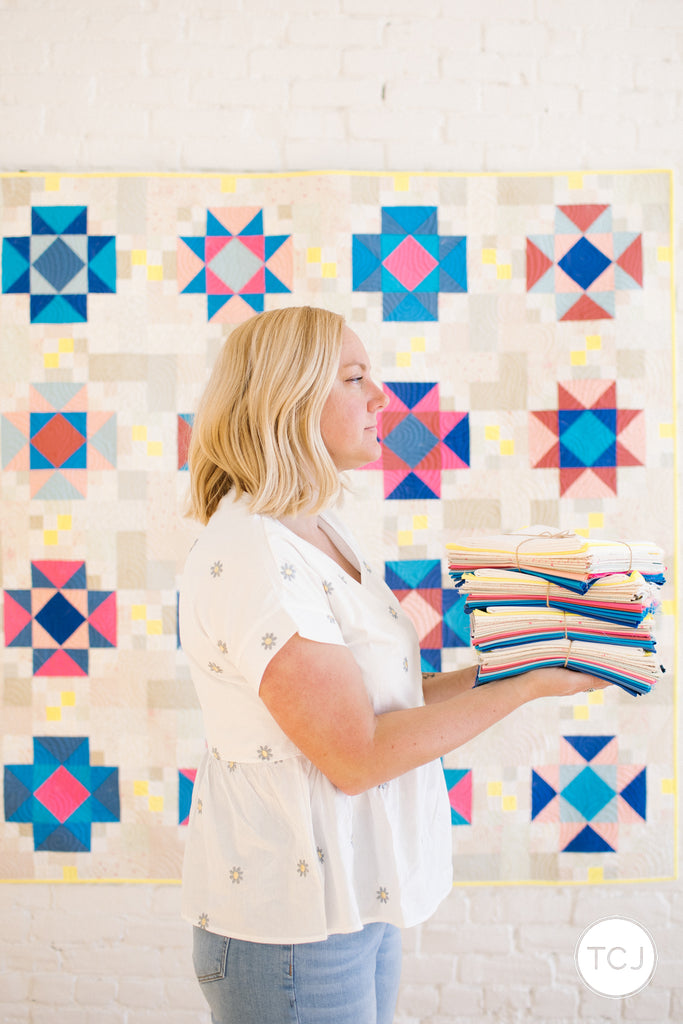
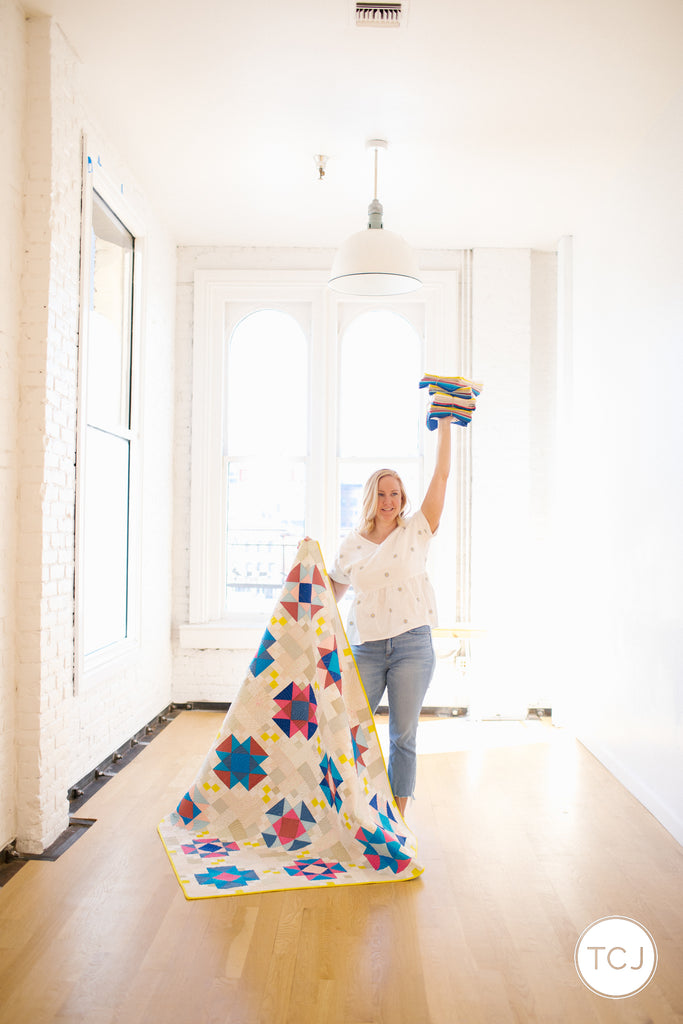
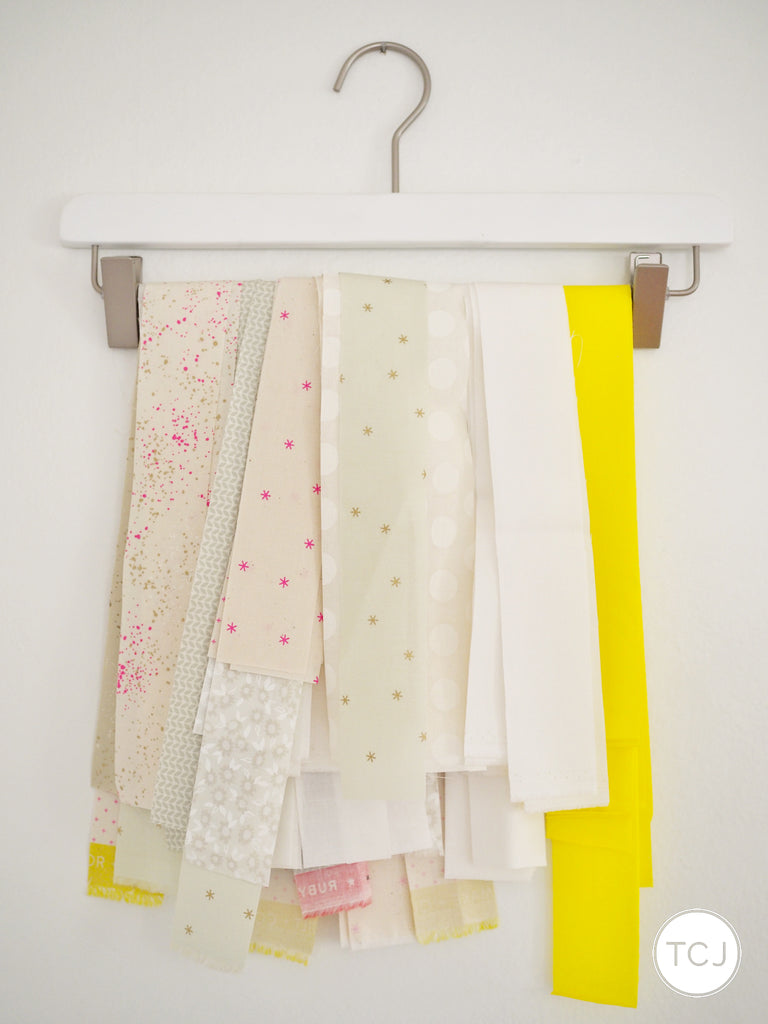
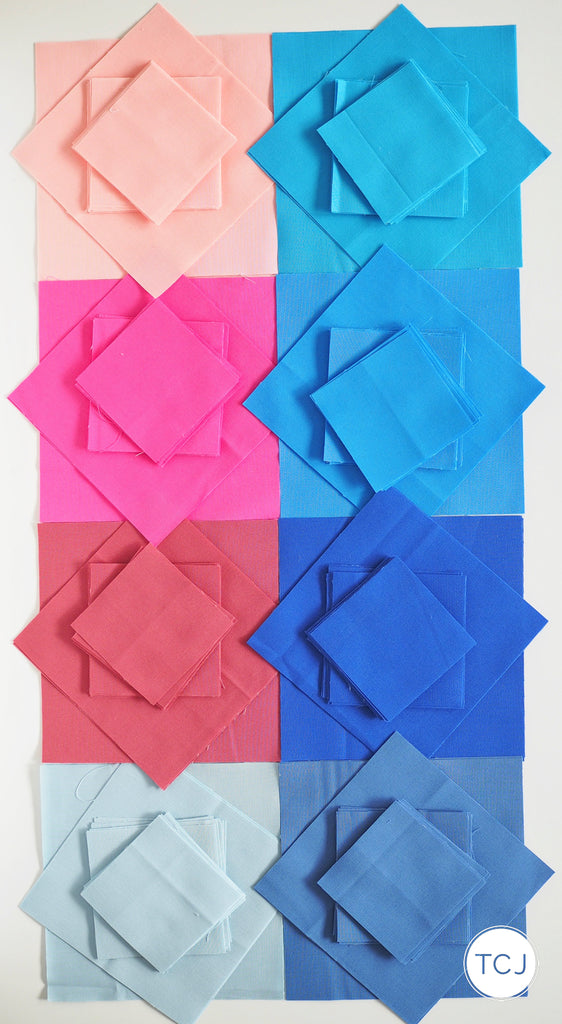
Phew, that was a lot of quilt math talk. But that all leads us to what fabrics I choose for this sample. I did some fun bold colors for the stars using Bella Solids, a White for the Irish Chain, a bright hit of yellow for the accent Irish Chain and then I used 9 different low volume FQs for the background.
The Bella Solids I used for the Stars are: Blue Raspberry, Blush, Bright Sky, Sea, Fuchsia, Bright Turquoise, Regatta, Princess. I used White Bleached in Bella Solids for the Main Irish Chain and Electric Lemon for the Accent Irish Chain. The 9 FQs are a variety of low volume prints from Moda Fabrics. I have a kit for this exact quilt in the shop!
I now have my fabric all figured out and I work on cutting my low volume FQs into the background pieces needed and I realize - shoot, I probably need a little guidance as to what pieces to cut from what FQ. At this point, I had written the first solid draft of Champagne and sent it to my teach editor. I hadn't included in the first draft any optional cutting diagrams for reference when using FQs to make a scrappy background. Silly me.
I included two possible cutting scenarios .
1. How to cut a single FQ that includes multiples of EACH background cut needed. This provides the most scrappy look. For example: say you need a total of (50) 3" squares - well then you could be using 9 different FQs to get to the total of (50) 3" squares. And that only uses up a part of a FQ so you go back and make the other background cuts as well = Mega scrappy, love it!
OR
2. You cut the same background cut from only a few FQs. For example: you only need (2) of your 9 FQs to get to the (50) 3" squares needed. Then you move onto cutting the other background cuts from the left over FQs. A more minimum scrappy effect, super pretty.
Have I truly lost you? I feel so rambley but I swear it makes sense when you are making the quilt. Back to this quilt - so I had to do a little diagram building and math to understand how to cut what I needed from the FQs. Then I had to go back into the pattern and include this information for you guys!
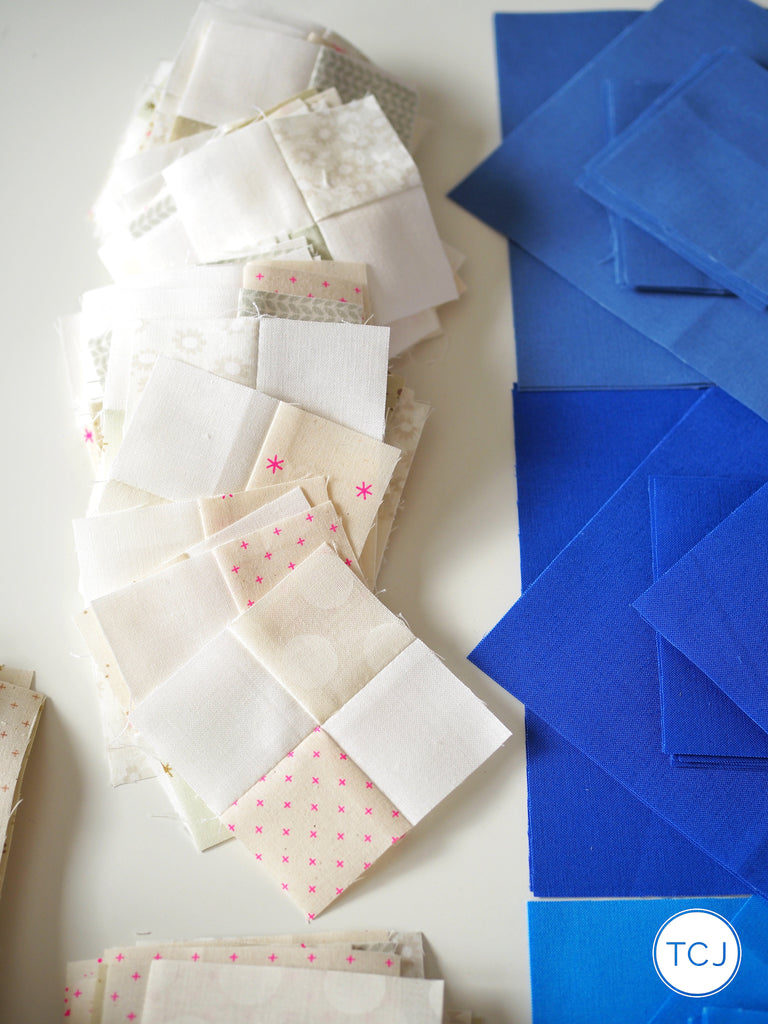
So finally, here we are, cutting the fabric!
I started with Irish Chain cuts and sewing and workd on creating the Irish Chain components of the quilt.
Now it was time to cut into my Star FQs and mix and match them to create the star components.
Writing about this make and seeing the photos again make me giddy about watching this quilt come together through this blogpost. Once all of the cuts were done, I moved onto sewing my star components and then it was time to assemble the Champagne blocks!
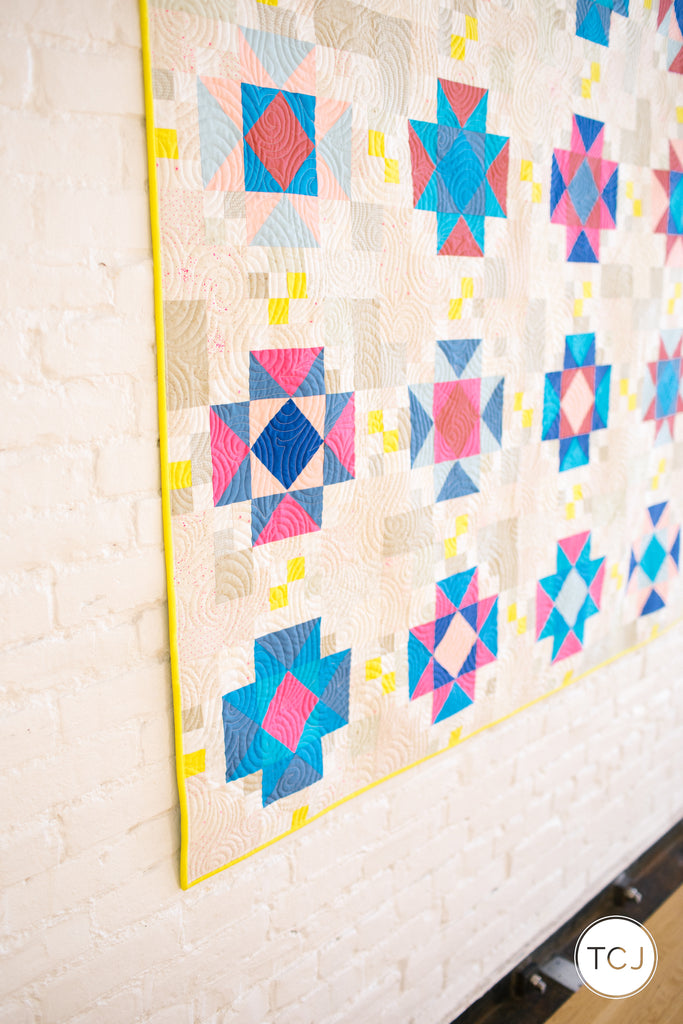
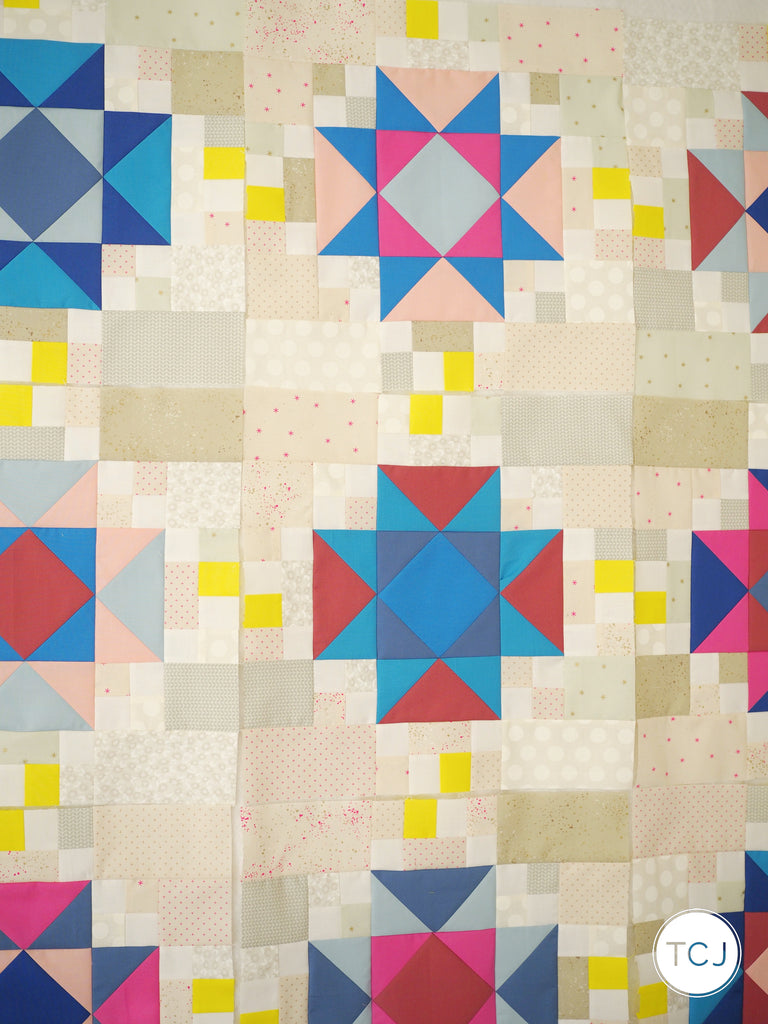
Another little pattern change came about when I was playing with the final block placements and assembly. Originally, I had this pattern designed with all the blocks laying in the same orientation - all the seams would be horizontal. Well, when I laid out the scrappy blocks on my design wall, the horizontal seams were ALL I could see. It felt too jarring.
See? The scrappy background really makes the seams and piecing stand out but not in a good way. My solution to this was rotating every other block by 90 degrees. And the big plus to this was you have 2 less seams to match between blocks. That is a win win.
Somehow I didn't take a photo of the blocks with the rotated orientation but you can see it in the final quilt top photos.
See how the negative space between the blocks fades away a little more? It feels like the background looks more like a background this way. And it does add a little fun spin on the blocks. Woot woot!
Alysson's dog Peanut Butter had to check out what was going on. Thankfully she had just peed on our hallway rug right before this so I knew her tank was empty. ha
Did you notice how wet her ears look? That is from Redford constantly nibbling on them, I guess it's a sign of love and wanting to play. Yet, gross.
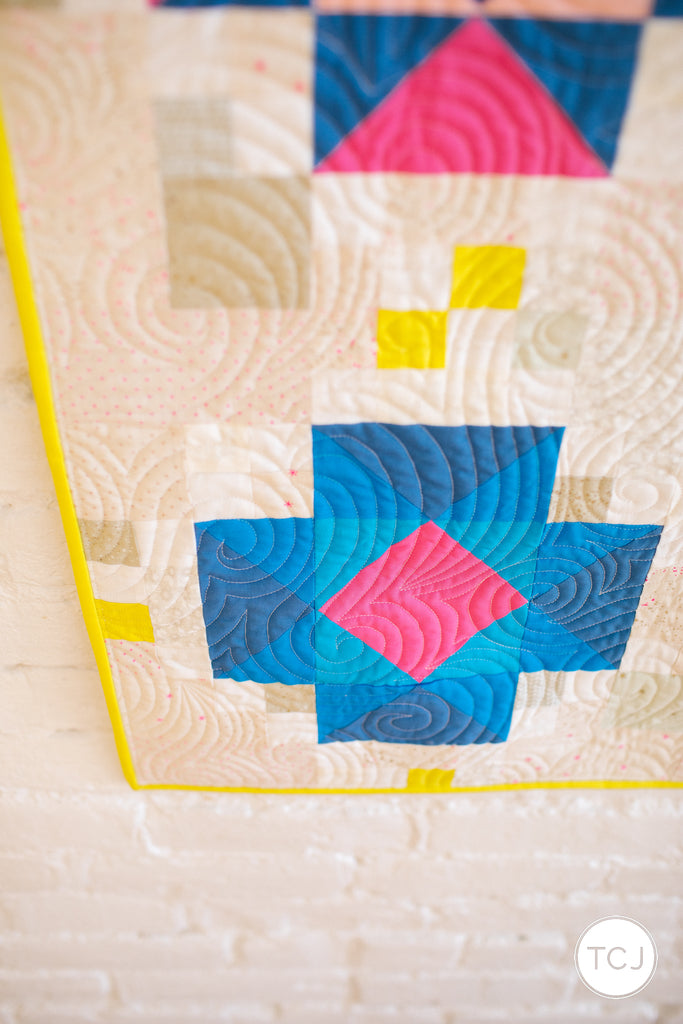
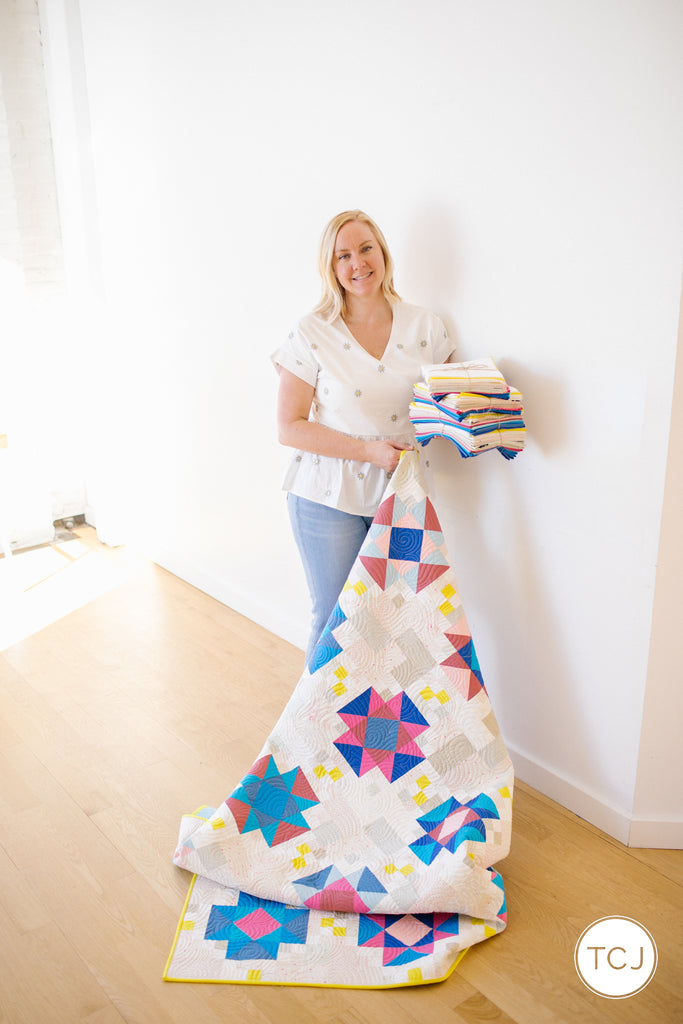
I sent this quilt off to Kaitlyn and I was torn on what kind of pantograph to use on it. I was debating between doing a classic straight line quilting to keep it modern and minimal or to lean into the scrappy bright colors and add a more dramatic pantograph. We decided to go with one from the Longarm League called Echoed Swirls. With how bold and straight the piecing was, I thought it would be fun to add lots of curved stitching and it turned out beautifully!
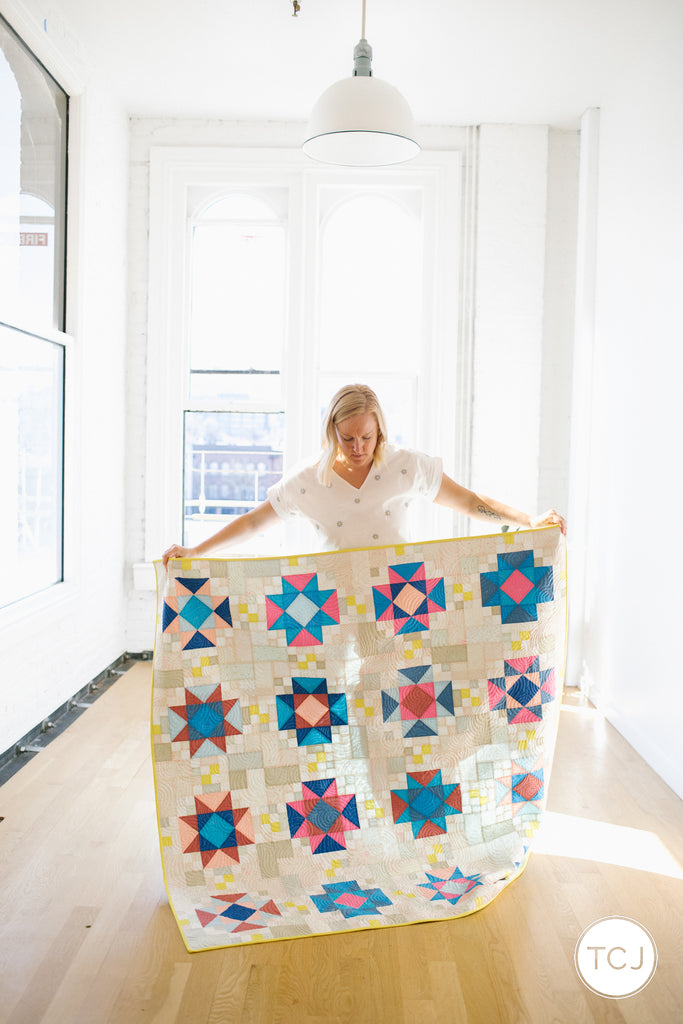
This was the first time shooting in this studio and they have some GORGEOUS giant windows that look into downtown Portland. And we got a beautiful blue sky day. I loved shooting here.
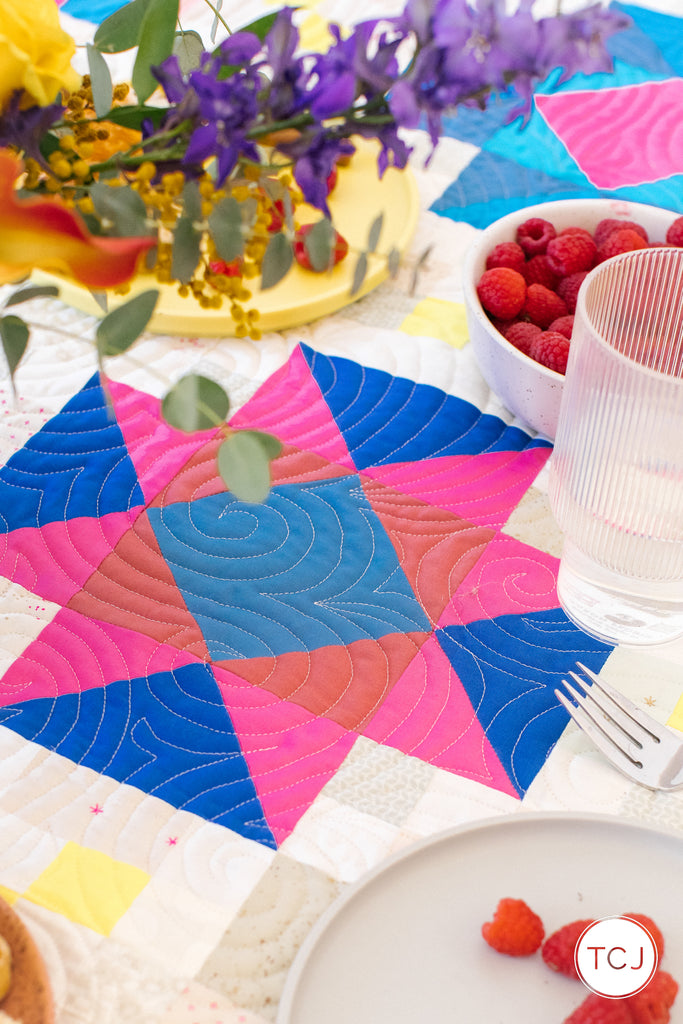
We then had ourselves a little picnic! The fun thing about this studio is it comes with TONS of props. All different kinds of vases, dishes, platters, bowls, cups, candles, etc. I believe this studio is rented out a lot for food photography would would make sense. They had the most gorgeous selection!
I really am obsessed with how this scrappy idea turned out. I can't wait to make another one with scrappy background again AND maybe doing a scrappy Irish Chain. Woo! So many options!


 Alysson's dog Peanut Butter had to check out what was going on. Thankfully she had just peed on our hallway rug right before this so I knew her tank was empty. ha